
Module creating a strobe effect for LED bars from Strands
Log in as a company by purchasing without 23% VAT - applies to companies outside Poland

Welcome to the front line of warning lights and the updated Cruise Light 2.0 strobe controller. It offers many exciting possibilities for styling car lighting. The strobe controller can be connected to a maximum of 6 lights with a maximum power consumption of 30 W each, enabling the strobe light function for any light. There are 12 strobe light patterns to choose from and a separate cruise/constant mode to maximize the vehicle's appearance. Several standard and dynamic patterns are available. The Cruise Light 2.0 strobe controller has a cast aluminum housing with an IP68 protection rating, making it very durable and resistant to water and heavy use. It comes with a 3-year warranty.
How to connect the Cruise Light strobe controller:
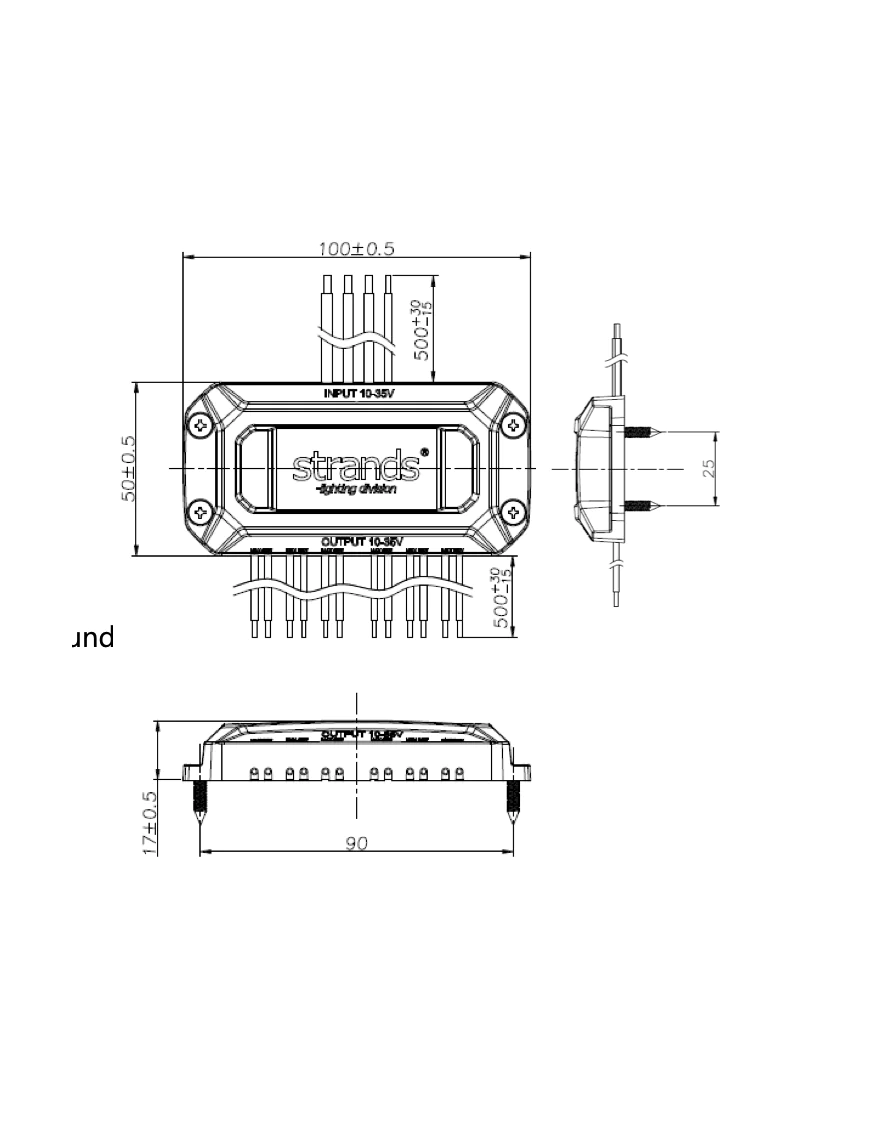
The 2.0 strobe controller has two input channels and six output channels, with six red (+) wires and six black (-) wires. The wires are connected to the lights in order. If some wires are not used, their ends should be insulated to prevent moisture and short circuits on the circuit board. If the light is already grounded/chassis-connected, there is no need to connect the black wires of the strobe controllers.
Thanks to the new blue wire for the cruise/driving mode, there is no need to go through each pattern to return to constant mode, but you can always return to constant mode directly from any pattern. It can be connected to the vehicle's position light signal.
In the case of incoming power, there are black, red, and yellow wires available. The black wire is connected to the ground or battery (-), the red wire is usually connected to the battery (+), switch, or button inside the cabin, and the yellow wire is connected to the red wire to select between patterns and is usually connected to a button or switch. The blue wire is for constant on/driving mode. It can be connected to the vehicle's position lights if the lights are to be on at the same time as the position lights. Connecting the red wire will prioritize and start flashing according to the previously selected pattern. Since some patterns are dynamic, it is important to connect the channels in the order in which the lights are to flash.


